Last Updated on 16th November 2023 by nightowl
DISCLAIMER: This information is provided in the hope that it will be useful, but WITHOUT ANY WARRANTY; without even the implied warranty of MERCHANTABILITY or FITNESS FOR A PARTICULAR PURPOSE. I shall not be held liable for any damages resulting using the information provided on this project.
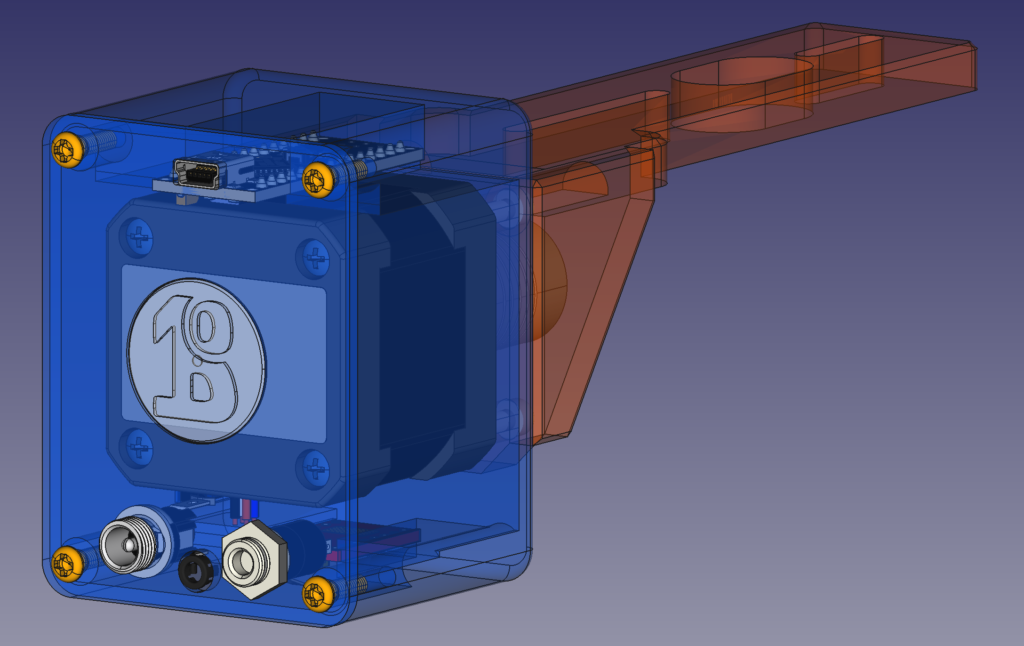
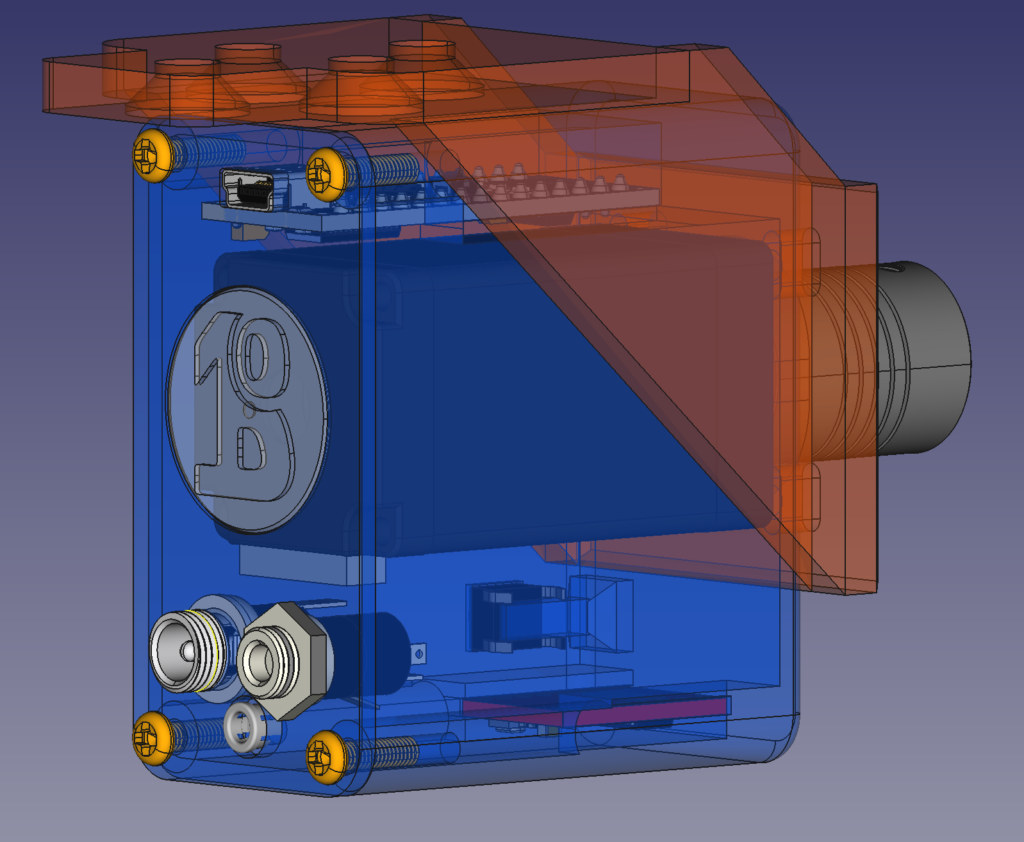
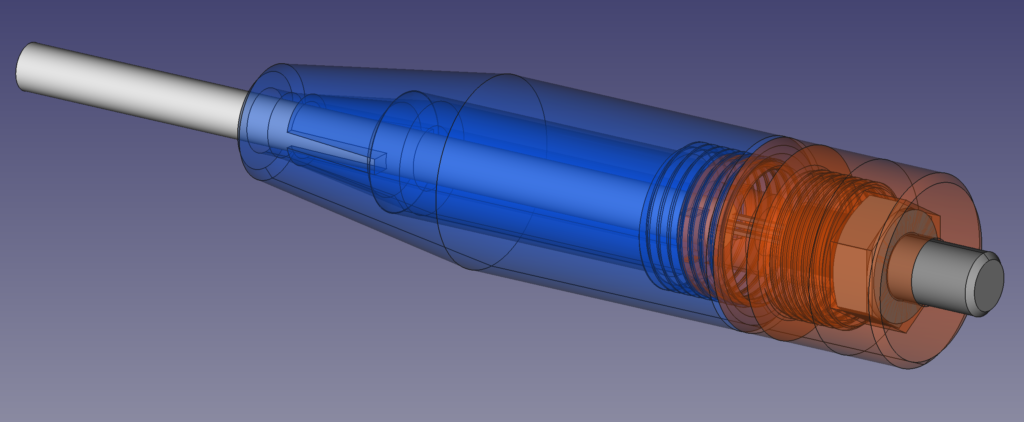
Please note this post is incomplete at the time of writing. It is quite an undertaking to document and publish every detail of a project like this and being a working family man I only have limited time to do this. More information and details will be updated here and in follow up posts as soon as I get a chance to do so. Please check back later if there are sections missing. Thank you for your patience and understanding! Please don’t hesitate to leave a comment below if you’re struggling with something!
Table of Contents
Quick Links
Overview
This post describes the design details of the BullsEye DIY Focuser I have created for my telescopes. It is an Arduino Nano based design with a TMC2209 SilentStepStick stepper motor driver capable of near silent operation and sensorless autohoming. It also features temperature measurement using the Maxim DS18B20 1-Wire Digital Thermometer. Source code for an INDI driver is also provided so the focuser is ready to be used with KStars / Ekos. ASCOM driver support is also being looked into but no ETA on that is available at the time of writing. All the design files are provided in the GitLab Repository.
Please note the sensorless autohoming is NOT suitable for all focuser mechanics. It really only works well for focusers that have fairly rigid mechanical end stops such as most of the rack and pinion style focusers. However, the autohoming can be turned off (the default) for focusers that do not have rigid mechanical end stops such as a common friction based crayford focuser. In practise this just simply means that with the autohoming turned off, you will have to manually rack the focuser all the way in before turning the focuser on and manually provide the maximum outward travel distance in the driver settings. Using the sensorless autohoming will require some tuning to get it working properly and does have the potential of breaking things if you’re not careful. I will try my best to describe how to get it working well but I cannot be held liable for any damages resulting using the feature! Once tuned it will work reliably though.
Design Variations
I have made two variations of this focuser. They both use the same electronics and firmware/software. The differences are in the choice of the stepper motor and the way they are mechanically connected to the focuser. The first one is a 45Ncm NEMA17 stepper motor (P/N: 17HS15-1504S-X1) based version for my William Optics Fluorostar FLT91. The motor is connected directly on the coarse side of the rack and pinion style focuser and is successfully utilising the sensorless autohoming feature. This configuration is capable of lifting more than 2kg payload straight up.
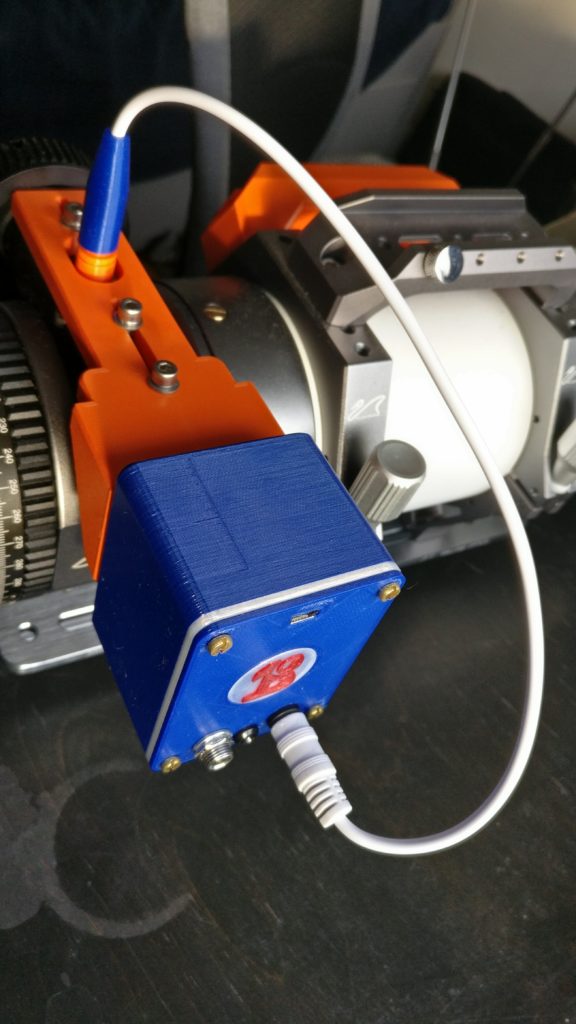
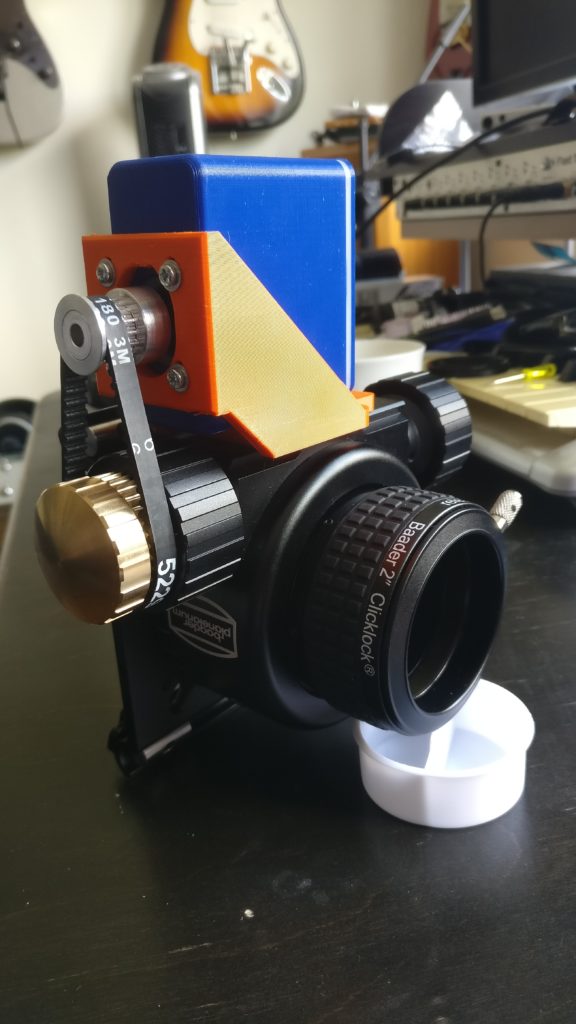
The second configuration is a 12Ncm NEMA11 stepper motor (P/N: 11HS20-0674S) based version connected to the fine tune side of a Baader Diamond Steeltrack NT focuser via a HTD timing belt (3mm pitch, 180mm length, 6mm width). Initially I had some success using the sensorless autohoming with this focuser as well but decided to turn it off due to the high risk of “grinding” the focuser axis past the not so rigid end stops and potentially damaging the transmission mechanics.
Electronics
The electronics of the BullsEye Focuser have been designed using KiCad. The project files are included in the GitLab Repository. Here is a PDF copy of the schematics.
Design Notes
- On the TMC2209 SilentStepStick board there is a jumper to enable UART communications. This jumper needs to be bridged to pin 6 of the board. It is highly recommended to add a heat sink on the board as well as it can get hot depending on what RMS current setting you’re driving the motor with.
- The C1 capacitor is to prevent Arduino reset on USB connection as in normal use this is an undesired feature. This has the unfortunate side effect of making the uploading of new firmware a little tricky. A reset is required at the beginning of the code upload. The Arduino IDE normally does this automatically but the C1 will prevent this from happening too. This is where the SW1 switch comes into play. You will need to do the reset manually using the SW1 switch as soon as Arduino IDE says “Uploading…”. You only have a couple of seconds to do this otherwise you’ll get timeout errors. Another option is to leave the C1 out until you’ve uploaded the code.
- The focuser monitors the 12V input voltage and reports it to the INDI driver. This is done with the R3/R4 voltage divider connected to the analogue input A7. The resistor do not need to be precision resistors but for accurate voltage measurement you should measure their actual values with a multimeter before soldering them in. The accuracy of the measurement also depends on the accuracy of the Arduino’s internal 1.1V reference voltage which unfortunately can vary a little from device to device. The measured R3/R4 values should be entered in the bullseyefocuser_actuator.hpp at the top where it says:
#define R3  46400   // ohms
#define R4 9900 // ohms- The U1 is a DS18B20 temperature sensor in a standard TO92 package. I wanted to be able to screw the sensor directly to the existing M4 hole on my focuser so I designed 3D printable housing for it. There are pre-packaged versions of the sensor as well and they should work just fine given that you connect it to the Arduino as shown in the schematic above.
Mechanics
The mechanics of the BullsEye Focuser have been designed using FreeCAD. The project files are included in the GitLab Repository along with STL files for the 3D printable parts. Brackets are provided for William Optics Fluorostar FLT91 and Baader Diamond Steeltrack NT. You will need to design your own brackets for other focusers. You can use the following links to preview the STL files in a 3D viewer:
- NEMA17 Focuser Housing
- NEMA17 Lid
- NEMA17 L-Bracket (For WO FLT91)
- NEMA17 Badge
- NEMA11 Focuser Housing
- NEMA11 Lid
- NEMA11 Bracket (For Baader Diamond Steeltrack NT)
- NEMA11 Badge
- Temperature Sensor Screw Housing
- Temperature Sensor Sensor Housing
- Temperature Sensor Strain Relief
- Temperature Sensor Cable Housing
Firmware
Arduino Firmware Documentation
INDI Driver
Assembly Guidance
Please see this post…
Tuning The Autohoming
To be done…